How to add HomeKit support to your Belkin WeMo switches today
September 18, 2016
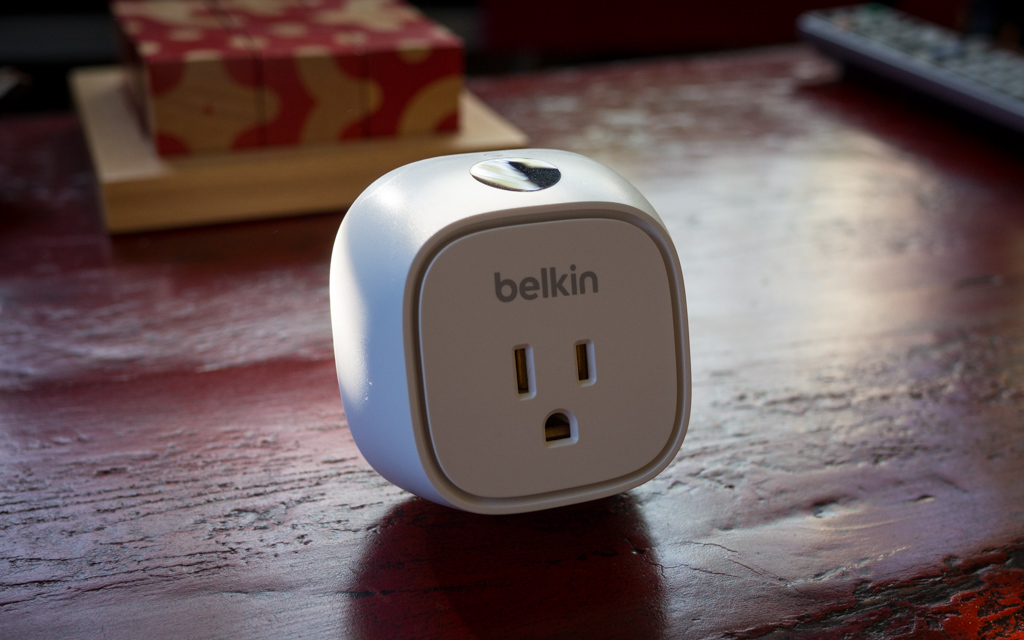
iOS 10 was released last week, and comes with a new Home app to control devices that use Apple’s HomeKit protocol. It’s pretty nice, especially combined with Siri and the Apple Watch. But are Belkin WeMo owners out of luck? Earlier this year Belkin announced they had no plans to add HomeKit support (not surprising, since it would require different hardware). Fortunately there’s a solution… Homebridge! It’s completely free, takes 10 minutes to set up, and gives you full HomeKit compatibility for your WeMo devices.
Homebridge is a Node.js server that acts as a bridge between HomeKit and other home automation devices. It’s a pretty great piece of software, and so far (fingers crossed) it’s worked extremely well on my network. I only have WeMo switches at my house, but Homebridge supports hundreds of different devices through its plugin architecture.
The only prerequisite for Homebridge is Node.js and NPM. There’s a guide on Treehouse to install it on your Mac if you don’t already have it. When you’re done, installing Homebridge is simple:
- Run
sudo npm install -g homebridgeto install the Homebridge server. - Run
npm install -g homebridge-platform-wemoto install the Homebridge WeMo plugin.
You’ll also need to create a new file called config.json in your ~/.homebridge folder. Here’s what mine looks like:
{
    "bridge": {
        "name": "Homebridge",
        "username": "CC:22:3D:E3:CE:30",
        "port": 51826,
        "pin": "728-15-728"
    },
    "platforms": [
        {
            "platform": "BelkinWeMo",
            "name": "WeMo Platform",
            "expected_accessories": "4",
            "timeout": "25",
            "no_motion_timer": "60",
            "homekit_safe": "1"
        }
    ]
}
You must change expected_accessories to match the number of WeMo devices on your network, but otherwise there’s not much to configure. Take a look at the WeMo Platform Plugin page for details.
Save your config file and run homebridge from the command line. You’ll see a code to pair with HomeKit. Open the Home app on your phone, tap Add Accessory, and you should see your Homebridge server! Homebridge is sensitive to mistakes in config.json, so if you see any strange errors check it for problems or invalid JSON. Otherwise, once things are working correctly, you can use forever to keep Homebridge always running in the background.
There’s one more step you might want to do if you have an AppleTV 4. You can use your AppleTV as an iCloud HomeKit hub, allowing you to control devices when you’re away from your home wifi network. For this to work you need to turn on two factor authorization for your iCloud account. Think you’ve already done this? It’s likely you have two-step verification enabled, not two-factor authentication. Okay, this is confusing, and Apple doesn’t explain it well at all. But it’s easy to fix. Follow this guide at Six Colors and you’ll be set.